What To Check Before Choosing A Small Projector Setup For A Living Room That Is Used Every Day
A practical step-by-step guide to what to check before choosing a small projector setup for a living room that is used every day, including preparation, instructions, common issues, tips, and next steps.
What To Check Before Choosing A Small Projector Setup For A Living Room That Is Used Every Day
Choosing a small projector for a living room used every day requires careful thought about light control, placement, sound, and daily usability. This guide walks you through the critical checks to make before buying, ensuring your projector setup delivers clear images, simple operation, and lasting satisfaction for everyday viewing.
Fast Answer
- Measure your room’s throw distance and ambient light to determine the right projector brightness and placement.
- Check the projector’s input lag and built-in speakers, and plan for external audio and screen or wall setup.
Before You Start
- Measure your living room’s width, ceiling height, and the distance from the proposed projector location to the wall or screen.
- Note the windows, doors, and lighting fixtures to understand how much ambient light you’ll need to control.
- Decide on a permanent setup (ceiling mount or shelf) for consistent image alignment and everyday convenience.
- Review your viewing habits: how often you watch in daylight, the content types (movies, TV, sports), and your preferred screen size.
Step-by-Step Instructions
Measure Your Room and Throw Distance
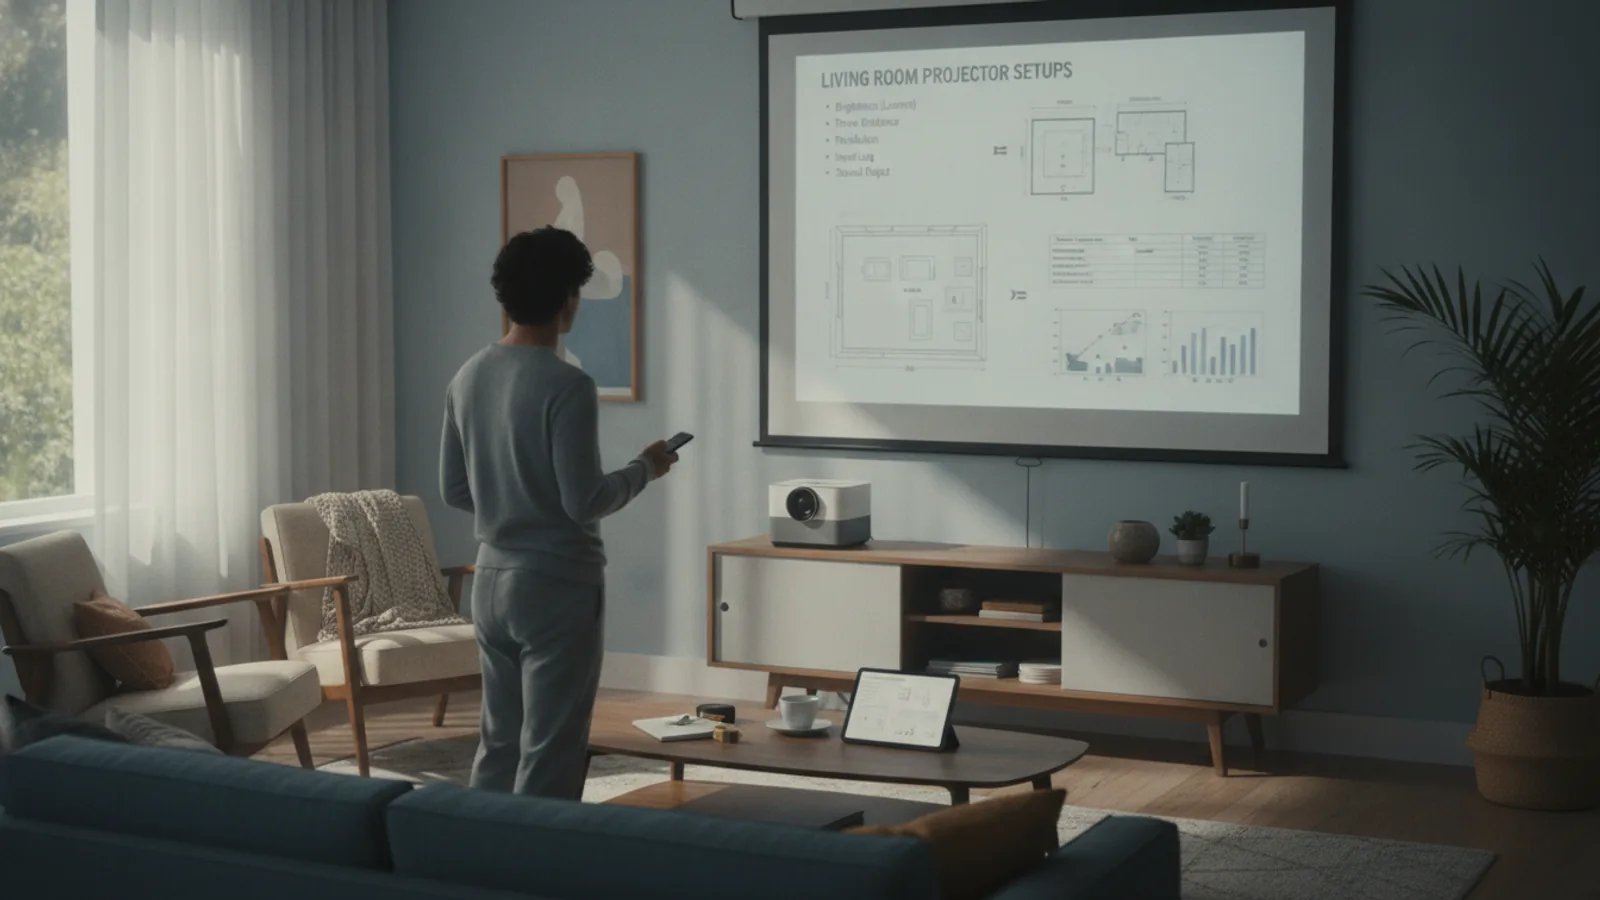
Start by measuring the distance from where the projector will sit to the wall or screen. This is the throw distance. Consult your projector’s manual or online calculator to see what image size you can achieve at that distance. Then measure the room’s width, length, and ceiling height to confirm the projector fits without blocking walkways. Also measure the distance from the lens to the screen’s center, because vertical and horizontal offset can require shifting the projector. For a living room used every day, you want the projector to produce a comfortable image without zooming in too much, which can reduce brightness. Use this number to determine if you need a short-throw model. A simple tape measure is your best friend here. This measurement is your first reality check: if you cannot get the image size you want, no amount of adjustment later will fix it.
Evaluate Ambient Light and Choose Brightness
Look at the windows and lighting in your living room. If you watch mostly in the evening, you can get away with a lower brightness. For daytime viewing, you need a projector with enough lumens to overcome light. Check the projector’s ANSI lumens rating, but do not rely on it alone; consider the screen type and ambient light. A common rule is that for a 100-inch screen in a dim room, you need about 1,000 to 1,500 lumens, but for a bright room you may need double that. Also think about how dark you can make the room: blackout curtains or blinds help. A projector that is too dim will look washed out and tires your eyes. That is why you must assess your room’s light and choose accordingly. Do not forget overhead lights, lamps, and sunlight reflectors like white walls. For daily use, you want a clear, bright image even when the room is not completely dark.
Check Connectivity and Inputs
List the devices you will connect: streaming sticks, gaming consoles, laptops, or a cable box. Ensure the projector has enough HDMI ports (most need at least two) and that they support the resolution you want. Also check if it has a USB port that can power a streaming stick – this is a huge convenience. Look for audio outputs like 3.5mm jack, optical, or Bluetooth to connect to a soundbar or speakers. For everyday use, you do not want to swap cables constantly, so a projector with multiple inputs makes life easier. Also verify that the projector supports the same HDMI standard as your devices (like HDMI 2.0 for 4K) – but since these change, just confirm your devices will work together by checking the manuals. This check saves you from buying adapters or a switcher later.
Consider Sound Quality and Audio Setup
Most small projectors have weak speakers that are fine for a dark room but not for lively living room use. Listen to the built-in speakers during a demo or at home. If they sound tinny or lack bass, plan to add external speakers or a soundbar. Check if the projector has a 3.5mm audio out, Bluetooth, or optical output to connect to your audio system. Also consider the placement of speakers relative to the projector – front speakers facing the audience are best, not speakers behind the screen. For everyday viewing, clear dialogue is crucial, so a good sound setup matters as much as the picture. If you watch late at night, you might also want a projector that supports Bluetooth headphones, but that is an extra feature. Test the audio with real content, not just the demo, to ensure it is acceptable.
Assess Ease of Setup and Daily Use
Think about the physical installation. Will you place the projector on a coffee table, shelf, or ceiling mount? Each has pros and cons. A table means easy access but you may have to adjust keystone correction each time the projector moves. A fixed mount gives a consistent image but requires professional installation if you are not handy. Consider the projector’s lens shift and keystone correction features – these let you adjust the image without moving the projector, which is a big convenience for everyday use. Also check the projector’s startup time and whether it has automatic focus and keystone. For daily use, you want a short startup time and minimal fiddling. Test the menus and remote control to ensure they are intuitive. If you have small children or pets, a ceiling mount offers safety, but also check the projector’s cooling system – it should vent hot air away from you, not at you.
Review Long-Term Reliability and Support
Because you will use the projector daily, check the expected lamp life (LED and laser projectors last longer, but have different upkeep) and the warranty. Look for reset policies for the lamp or laser module, and if it is a lamp projector, note the typical cost of replacement lamps. Some projectors have replaceable filters that need cleaning – check if you can do it yourself. Read reviews from other owners to see if the projector has known issues like overheating, sudden shutoff, or image degradation over time. Also look at the manufacturer’s support options: do they have a website with FAQs or phone support? It is wise to buy from a retailer with a good return policy so you can test it at home for a few days. This check ensures you do not end up with a product that needs constant maintenance.
Quick Reference
| Situation | Action | Why it helps |
|---|---|---|
| Room has large windows and you watch daytime TV. | Choose a projector with high lumens (e.g., 2000 or more) and pair it with an ambient light rejecting (ALR) screen. Also install blackout curtains or blinds to darken the room for critical viewing. | High brightness and light-rejecting screen help maintain a watchable image in ambient light, reducing eye strain and preserving contrast. |
| You plan to place the projector on a low coffee table. | Use keystone correction and lens shift to square the image. Place the projector on a level, stable surface and avoid pressing buttons on it during viewing. | Keystone adjustment corrects trapezoid distortion when the projector is angled upward, ensuring a rectangular image without moving the table. |
| You want to connect a streaming stick, a game console, and a soundbar. | Verify the projector has at least two HDMI inputs and one audio output (like optical or 3.5mm). Connect the streaming stick to the HDMI port that supplies USB power, and use the audio out to the soundbar. | Multiple HDMI ports allow all devices to stay connected simultaneously, while a dedicated audio out ensures reliable sound for your speakers. |
Common Issues
- Image appears blurry or unclear in different corners.: Adjust the projector’s focus ring and keystone correction. If the blur is only on one side, the projector may not be perpendicular to the screen – move it so the lens is centered and the projection is rectangular, then fine-tune focus.
- Built-in speakers sound muffled and low.: Connect external speakers or a soundbar via an audio output (3.5mm, optical, or Bluetooth). Place the speakers at ear level, facing the seating area, and adjust the projector’s audio settings to a suitable volume.
- Projector shuts off unexpectedly after 30 minutes.: Check the ventilation and make sure the projector’s air vents are not blocked. Clean any dust on the filter and ensure there is at least 10 cm of space around the projector. If the problem persists, check the manual for a thermal shutdown threshold and contact support if needed.
Advanced Tips
- For a dedicated living room projector, consider a fixed ceiling mount to avoid daily setup adjustments, but ensure you can still access ports and buttons easily.
- Use a neutral density filter on windows to reduce sunlight without darkening the room entirely, preserving a comfortable living space while watching.
- Calibrate the projector’s picture settings using a calibration disc or a simple test pattern to improve color accuracy for everyday content.
Final Checklist
- Measure throw distance and screen size to ensure the projector fits your living room layout.
- Identify ambient light sources and choose a projector with adequate brightness or plan for blackout curtains.
- Verify all necessary inputs and outputs for your devices, including HDMI, audio, and USB power.
- Test the projector’s startup time, keystone correction, and built-in speakers to confirm they meet your daily ease-of-use expectations.
FAQ
What is the ideal brightness for a projector in a living room?
It depends on ambient light. For a dim room, 1000–1500 ANSI lumens can work, but for rooms with moderate light, aim for 2000 lumens or more. Use the projector’s brightness rating as a guide and pair it with a screen that suits your light conditions. Always test with your own lighting.
Can I use a small projector every day without it breaking soon?
Yes, if you choose a projector with a long-lasting light source like LED or laser, and maintain it by cleaning the filter and ensuring good ventilation. Check the lamp life or LED hours and follow the manufacturer’s care instructions. With proper care, it can last for years.
Do I need a special screen for a living room projector?
A good screen improves image quality, but a plain white wall can work if the room is dark. For daytime viewing or light walls, an ambient light rejecting (ALR) screen is recommended because it reflects light from the projector while rejecting light from windows and lamps, greatly enhancing contrast.