How To Plan A Practical Smart Lighting Setup For A Rented Home
A practical step-by-step guide to how to plan a practical smart lighting setup for a rented home, including preparation, instructions, common issues, tips, and next steps.
How To Plan A Practical Smart Lighting Setup For A Rented Home
Planning a smart lighting setup for a rented home requires balancing convenience with the need to preserve the property and your deposit. This guide helps you assess your rental agreement, choose non-invasive options like smart bulbs and plug-in modules, and build a system that you can easily reverse when you move out. You'll learn to plan zones, schedules, and automations that suit your daily routines without making permanent changes or breaking rules. Each step includes practical checks to ensure your setup is safe, compliant, and removable, so you can enjoy the benefits of smart lighting while being a responsible tenant.
Fast Answer
- Start by reviewing your rental agreement and getting written permission for any modifications; then choose plug-in smart lighting like bulbs and smart plugs that don't require rewiring.
- Use smart bulbs that fit existing fixtures and control them with an app or voice assistant; create schedules and groups for convenience, and keep all original parts to revert when you move out.
Before You Start
- Review your rental agreement: check for any clauses that restrict modifications, lighting, or smart devices; note conditions about fixtures and what is considered 'permanent' changes.
- Take photos of existing light fixtures, switches, and wiring to have a clear record of the original condition; this helps when returning the property to its previous state.
- Decide on a communication plan: clarify with your landlord or property manager which types of smart lighting are acceptable; get written approval if any changes might be seen as permanent.
- Take inventory of your lighting needs: list each room, the type of fixture (table lamp, ceiling light, etc.), and how you want to control it (single bulb, group, schedule) to plan your system.
Step-by-Step Instructions
Assess Your Rental and Lighting Options
First, examine your rental agreement to identify any restrictions on modifications, including changes to electrical fixtures or installation of smart devices. Check whether your lease requires you to keep the property in original condition or if you need landlord permission for any changes. Next, look at the light fixtures you have: ceiling lights, floor lamps, table lamps, or under-cabinet lighting. For each, determine if you can use a smart bulb (that screws into the existing socket) or a smart plug (that goes between the lamp and the wall outlet). Smart bulbs are ideal for fixtures that are directly wired and controlled by a wall switch, but they need to be left in 'on' position to work with automation. Smart plugs are perfect for lamps that you plug in and control manually. Make a list of your fixtures and choose the appropriate option for each, ensuring they are compatible with your home's power type (most are standard voltage; check your local electrical standards). Take note of any fixtures that are hardwired or have unique bulbs, as these may need different solutions. What to check: Verify that your bulbs and plugs are rated for indoor use and match the socket type (e.g., E26 or E27 in many regions) and that your smart devices support the correct voltage (typically 110-120V or 220-240V, depending on your location). Why this matters: Choosing the right device for each fixture prevents electrical issues, avoids voiding your lease, and makes the setup easier to reverse later.
Get Permission and Document Everything
Once you know which smart lighting products you want to use, contact your landlord or property manager to explain your plan. Emphasize that your setup is non-invasive and removable, using only plug-in devices, so you can restore the property exactly as it was. Ask for written permission if your lease requires it or if you plan to make any changes beyond simple plugging in, such as replacing a fixture or installing a smart switch. Some landlords may be hesitant, so provide details about how the devices work and that they won't damage the wiring. After you get approval, take photos of all fixtures and switches before you change anything, and keep receipts for all devices and original parts. This documentation will help you prove that you left the home in the same condition when you move out. What to check: Look for any specific lease language about 'modifications' or 'fixtures' and ensure you have explicit consent in writing (email is fine) that on-the-record approval is acceptable. Why this matters: Having clear permission protects your deposit and builds trust with your landlord; documenting before-state helps you reverse changes and avoid disputes.
Plan Zones and Automations Before Buying
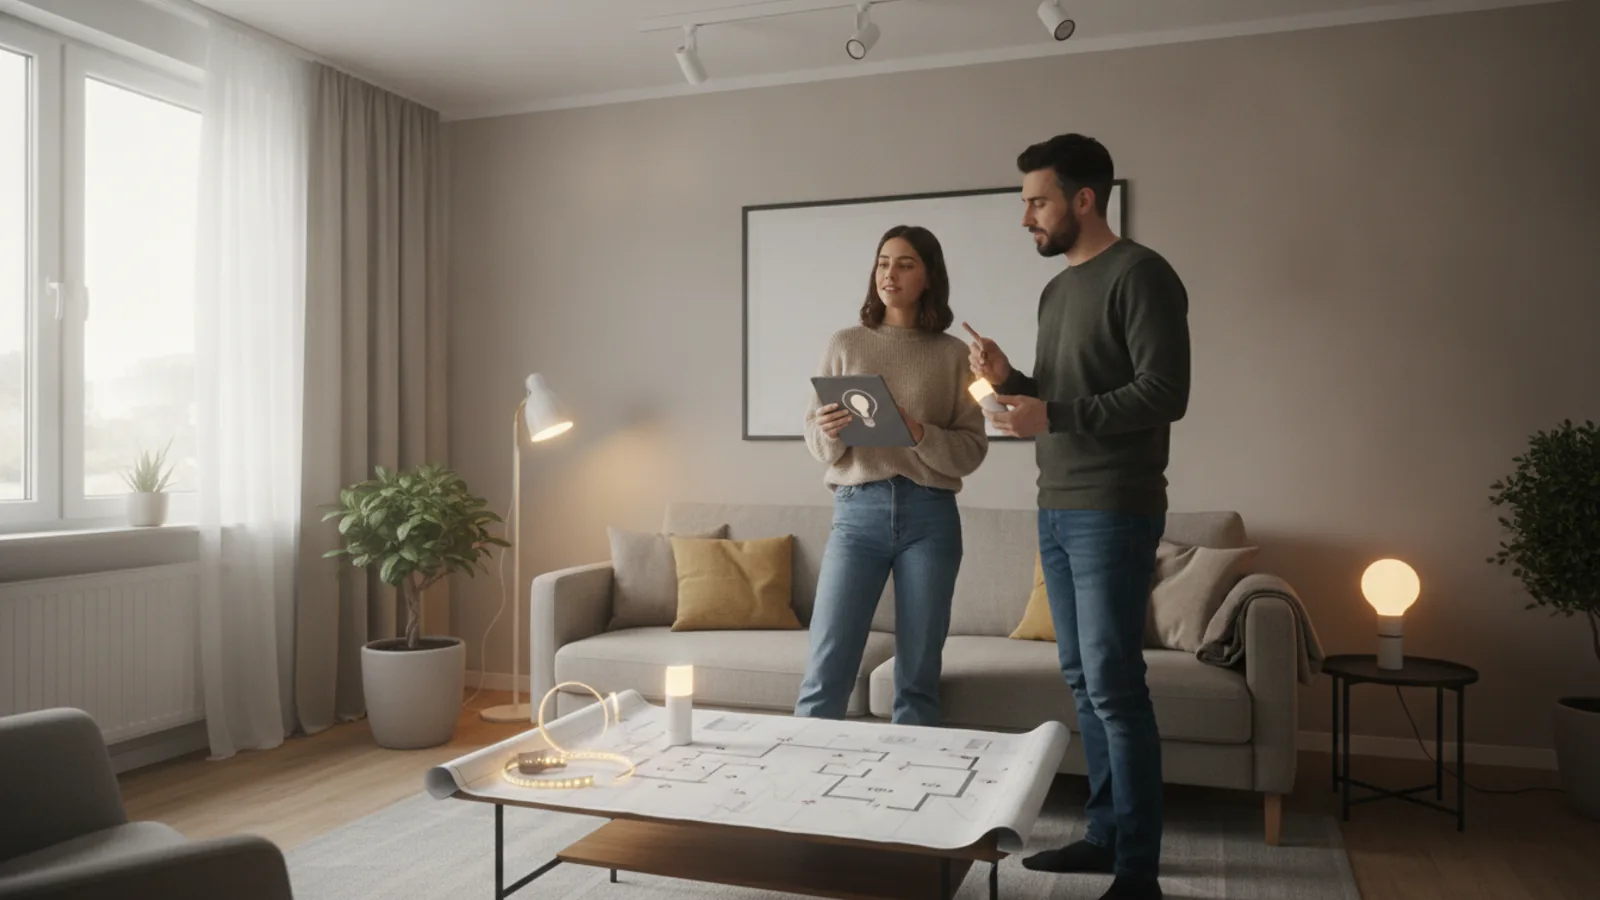
Before you purchase any smart lighting, create a simple floor plan of your home and mark each light you intend to control. Decide how you want to group them: for example, 'living room lights' or 'bedroom lamp'. Think about your daily routines: when you wake up, leave for work, return home, and go to sleep. For each routine, determine what lighting you want: maybe a warm dim light in the morning and a bright light for reading. Use this plan to set up scenes (e.g., 'Movie Night' with dim lights) and schedules (e.g., 'Lights on at 7pm' during winter). Also, decide whether you want voice control, motion sensors, or remote control via smartphone. This planning helps you choose the right number of devices and avoid buying unnecessary ones. What to check: List every light you plan to automate and ensure that each one has a smart device (bulb or plug) that matches its fixture. Consider whether you need a hub or if your devices work directly with your phone or voice assistant. Check the range: if you have a large home, ensure devices are within range of your Wi-Fi or hub. Why this matters: Good planning saves money, reduces complexity, and makes your system easy to use and manage daily.
Install Smart Bulbs and Plugs with Care
Now it's time to install the devices. For smart bulbs: ensure the power is off to the light fixture, then replace the existing bulb with the smart bulb, and turn the power back on. For smart plugs: plug the smart plug into the wall outlet, then plug your lamp into the smart plug. Follow the manufacturer's instructions for pairing each device with your smartphone app or hub, usually by scanning a QR code or pressing a button. As you add each device, name it clearly (e.g., 'Living Room Floor Lamp') and test that it responds to the app. If you have multiple of the same device, keep track of which is which by using the app to identify them (often the device can flash its light to confirm). For any hardwired fixtures that require changing the switch, do not do that unless you have permission and skill to do so safely; otherwise, leave the switch always on and control the light via the app or voice. What to check: After installation, confirm that each device works with your chosen control method (app, voice assistant, or button) and that the light output is as expected. Test the range: make sure the device responds from all rooms where you might use it. Also, verify that smart plugs are properly rated for your lamp's wattage. Why this matters: Correct installation prevents electrical hazards, ensures your system works reliably, and makes it easy to troubleshoot later.
Set Up Schedules, Scenes, and Automations
With all devices installed, use the app to create schedules so your lights turn on and off at desired times. For example, wake-up light gradually brightens in the morning, or away-from-home lights turn on randomly to mimic occupancy. Set up scenes that adjust multiple lights to a specific brightness and color for different activities, like 'Reading' with a focused lamp or 'Dinner' with warm ambient light. Use timers to turn off lights automatically when you sleep. If your system supports geofencing, enable it to turn lights on when you approach home and off when you leave. Start with simple automations and gradually add more as you get comfortable. Remember that automations rely on your devices being connected to Wi-Fi and having power; if the internet goes out, some features may not work, but manual control via the physical switch usually still works. What to check: Verify each schedule works correctly by triggering it during setup and adjusting the time if needed. For weekday vs weekend routines, create separate schedules if your app allows. Ensure that your automations don't conflict with each other, such as a schedule turning off a light that another schedule turns on. Why this matters: Well-planned automations make your lighting truly 'smart' and can save energy, but conflicting rules lead to frustration and less trust in the system.
Maintain and Prepare for Reversal
As you live with your smart lighting, keep everything in working order by regularly checking that devices are responsive and have sufficient battery if they use batteries. Clean the bulbs and fixtures as needed, but always turn off power at the switch or breaker before cleaning. Keep a 'reversal box' with all original bulbs, plugs, and any tools you used; store this is a safe place. Periodically test that you can easily remove each device: for smart bulbs, just unscrew; for smart plugs, unplug. Practice one full removal and reinstallation to ensure you know how to do it quickly. When you move out, remove all smart devices, restore the original bulbs and plugs, and check that each fixture works exactly as it did initially. Patch any marks or holes if you used command strips or adhesives (but avoid using such sticky materials that might damage surfaces; use blue tack if possible). Take photos of the restored condition to have proof for your landlord. What to check: After any power outage or internet reset, verify the devices have reconnected and if not, follow the app's troubleshooting steps. Keep your app updated and periodically review your schedules to ensure they still fit your routine. Why this matters: Regular maintenance keeps your system reliable, and a systematic reversal process protects your deposit and leaves the home in perfect condition, making your rental experience stress-free.
Quick Reference
| Situation | Action | Why it helps |
|---|---|---|
| Lease agreement has strict clause about altering electrical fixtures | Stick to smart bulbs that replace the bulb directly and smart plugs for lamps. Avoid any hardwired smart switches or changes that require unscrewing the fixture. Inform your landlord of your plan and get written approval before proceeding. | Smart bulbs and plugs are plug-and-play and reversible, so you don't need to modify the electrical system, which keeps you compliant with the lease and avoids damage. |
| Wi-Fi outage occurs; your smart lighting stops responding to the app | Use the physical switch on the lamp or the wall switch to control lights manually. If using smart bulbs, set them to 'default on' (if the app allows) so they turn on when power is restored. After Wi-Fi is back, restart the app and check device reconnection settings. | Smart lighting often relies on cloud services; having a manual override ensures you are not left in the dark, and knowing the reconnect process saves time and frustration. |
| You are moving out and need to restore the apartment to its original state | Remove all smart bulbs and plugs; replace with the original bulbs that you kept. Test each light fixture and outlet to ensure proper function, and clean any marks from cable management. Take photos as evidence for the landlord. | Returning the property in its exact original condition helps you get your security deposit back and keeps a positive relationship with your landlord. |
Common Issues
- Smart bulbs flicker or buzz when the wall switch is a dimmer: Replace the dimmer switch with a regular on/off switch, but only if you have permission and know how to do it safely; otherwise, use smart plugs with your lamps and leave dimmer switches on, but that may still cause flicker. Alternatively, choose smart bulbs that are labeled as 'dimmable with standard dimmers' but be aware of compatibility. Consult an electrician if needed.
- Device loses connection frequently, causing schedules not to run: Check the Wi-Fi signal strength in the room where the device is located; consider moving your router or adding a range extender. Ensure your Wi-Fi network is stable and the device firmware is up to date. Also, avoid placing devices near metal surfaces or concrete walls. If using a hub, keep it central and away from interference.
- When the power goes out, smart bulbs may turn on at full brightness and then go off, or their settings reset: Many smart bulbs have a 'power-on' setting you can adjust in the app, such as 'return to last state' or 'always on'. Configure this to your preference. After a power outage, wait a few minutes for devices to reconnect to the network and use the app to verify and restore your schedules if needed.
Advanced Tips
- Integrate motion sensors in hallways or bathrooms to turn on lights automatically, reducing the need for schedules and saving energy.
- Use a smart plug with a 'away mode' scenario that randomly turns lamps on and off to simulate occupancy when you're on vacation.
- For a more immersive experience, group lights by zone and use color temperature changes that mimic natural daylight to support your circadian rhythm.
Final Checklist
- Confirm you have written permission from your landlord for any smart lighting changes, especially if you plan to install anything other than plug-in bulbs.
- Keep all original bulbs, plugs, and packaging; store them in a labeled box for easy reversal.
- Test each device after installation and ensure the app controls all lights reliably; also test automated routines.
- Before moving out, remove all smart devices, restore original parts, and photograph each fixture to document the condition.
FAQ
Can I install smart bulbs without damaging the rental?
Yes, replacing a standard bulb with a smart bulb is a simple, non-permanent change. You just unscrew the old bulb and screw in the smart bulb. When you move out, you can easily swap it back. Just make sure you keep the original bulb in safe storage and check that the fixture is standard. Always turn off the power before changing bulbs to be safe.
Will smart plugs waste electricity even when lights are off?
Smart plugs and bulbs use a small amount of standby power, typically less than a few watts, to maintain connectivity. This is generally negligible compared to the energy savings you get from scheduling and turning off lights automatically. If you're concerned, you can set the device to switch off completely when not in use, but that may disconnect it from the network. Look for devices with low standby consumption.
What should I do if my landlord refuses to allow smart lighting?
Respect the landlord's decision. You can still use smart bulbs and plugs that are purely plug-in and do not change the physical structure, as they are as removable as a regular light bulb. Politely explain that these are not permanent modifications and offer to demonstrate. If the landlord still says no, you may choose not to use them or find alternative temporary solutions like battery-operated tap lights or smart lamps that plug into outlets, always ensuring you follow the lease. If your lease does not restrict plug-in devices, you may proceed without permission, but it's best to keep the landlord informed.