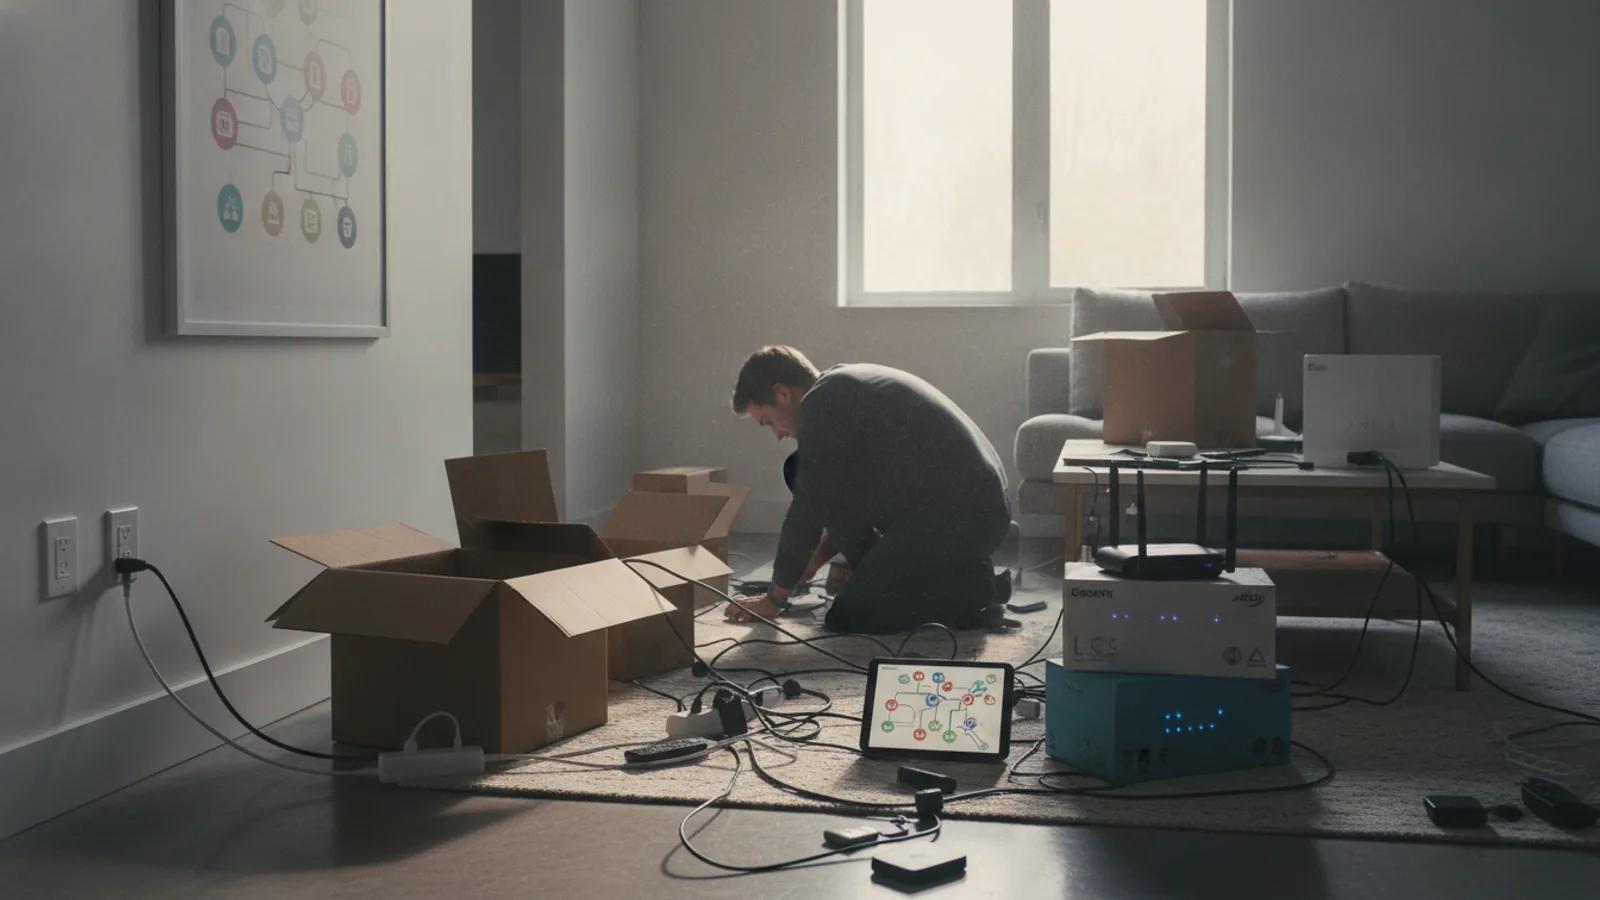
A Practical Guide To A Useful Home Office Screen Setup With Fewer Cables And Distractions
A practical step-by-step guide to a practical guide to a useful home office screen setup with fewer cables and distractions, including preparation, instructions, common issues, tips, and next steps.
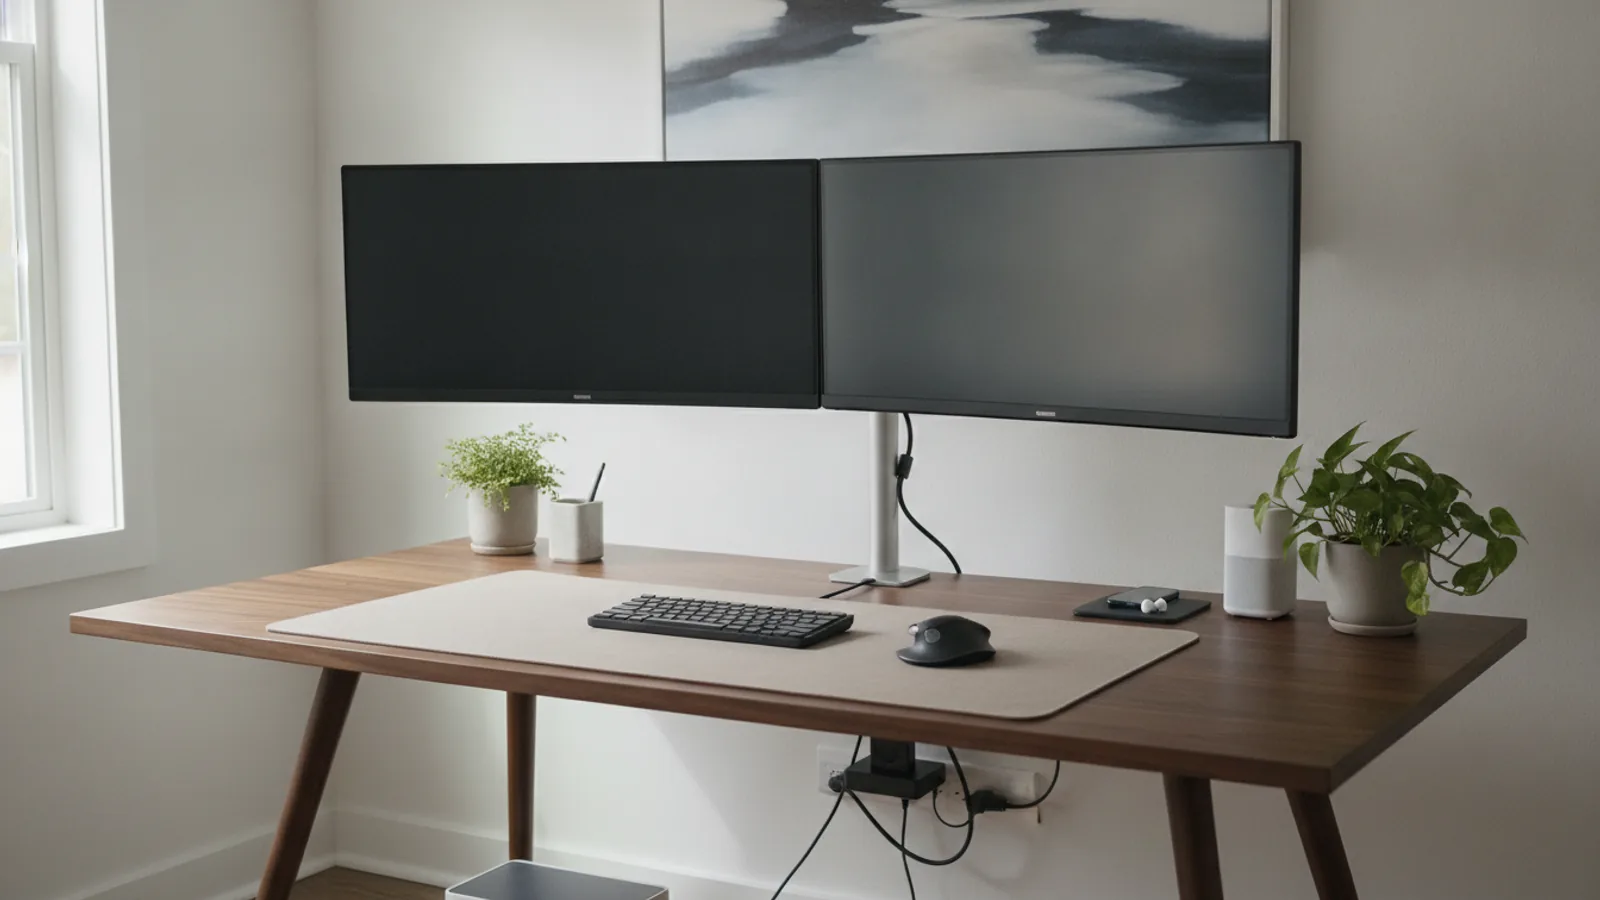
A Practical Guide To A Useful Home Office Screen Setup With Fewer Cables And Distractions
This guide explains how to set up a home office screen arrangement that reduces visual clutter, minimizes cable mess, and helps you stay focused. You will learn to choose a single primary monitor, position it correctly, use a laptop as a secondary screen, route cables neatly, manage power adapters, and create a distraction-free zone. The steps are practical and require no special tools, only a willingness to reorganize your desk. By the end, you will have a cleaner, more efficient workspace that supports better posture and concentration.
Fast Answer
- Use one main monitor at arm's length with the top edge at eye level, and place your laptop to the side as a secondary screen to reduce neck strain and simplify your setup.
- Route all cables along the back edges of your desk using adhesive clips, bundle them with velcro ties, and plug everything into a single power strip with a switch to cut standby power easily.
Before You Start
- Pick a desk with a clear back edge or use adhesive cable clips to create a channel for wires so you can tuck them out of sight.
- Collect a few reusable velcro straps or twist ties to bundle cables together after you position each device.
- Decide which screen will be your main display; your primary work happens there, and it should be the one you face straight on.
- Gather a small cloth or microfiber wipe to clean your screens and desk before you start, so you begin with a tidy surface.
Step-by-Step Instructions
Clear the Desk Surface Completely
Begin by removing every item from your desk, including papers, pens, mugs, and any decorations. Set them aside on a chair or nearby table. Wipe down the entire surface with a damp cloth to remove dust and crumbs, then dry it with a soft towel. This gives you a blank canvas to plan your layout without distractions. As you clear, sort items into three piles: essential for daily work, occasional use, and never used. The least-used items can live in a drawer or another room. This action matters because a clean surface helps you see exactly where cables will run and prevents you from accidentally covering vents or ports. It also reduces visual noise, which makes it easier to focus on the task at hand. Once the desk is empty and clean, you can measure the available space and decide where each screen will sit.
Position the Main Monitor at Eye Level
Set your primary screen directly in front of your chair, about an arm's length from your face. Adjust the monitor height so the top edge of the screen is at or slightly below your eye level. If your monitor does not have height adjustment, place a sturdy book or a monitor riser under the base to raise it. Tilt the screen slightly upward or downward so your line of sight hits the center of the display. If you wear bifocals, you might lower the monitor a touch more. This position reduces neck and eye strain because you are looking forward rather than down or up for long periods. After you place the monitor, sit naturally and check that you do not have to tilt your head to see the whole screen. If you do, adjust the height again. This step is the foundation of a comfortable workspace, so take a few minutes to get it right.
Set the Laptop as a Secondary Screen
Place your laptop on the side opposite your dominant hand or wherever you have room, perhaps on a laptop stand to raise it to near monitor height. If you use the laptop's keyboard and trackpad, keep it within easy reach, but if an external keyboard is on your desk, push the laptop back slightly. Connect the laptop to the main monitor using the correct cable, usually a display cable that fits both ports. Once connected, use your operating system's display settings to extend your desktop onto the laptop screen, so you can drag windows between them. If the laptop screen does not turn on, check that the connection is firm and that the display mode is set to extend, not duplicate. This setup gives you extra screen real estate without buying a second monitor, and it keeps the laptop's ports accessible. Make sure the laptop is plugged into power if you plan long sessions, because extending a display drains the battery faster.
Route Cables Along the Desk Edges
Take the power cable from your main monitor and the display cable from your laptop, and guide them along the back edge of your desk. Use adhesive cable clips every few inches to hold the cables flat against the desk's underside or back. Do not let cables drape over the front edge where they can catch on your knees. If you have a mouse and keyboard that are wired, run their cables together and clip them in a bundle. For wireless devices, their receivers can be tucked into a port on the monitor or laptop, but if they are external, tuck them behind the desk edge. The goal is to have no cable lying on the surface or looping in the air. After you place all cables, visually trace each one from the device to the outlet to confirm there are no tangles. This step reduces clutter and prevents accidental disconnections when you move your chair or stretch your legs.
Consolidate Power with a Single Strip
Plug all your devices' power adapters into one power strip that has a long enough cord to reach an outlet. Place the strip in an unobtrusive spot, such as under the desk or on a shelf, but make sure the switch is easily accessible. If your power strip has a switch, turn it off when you are done for the day to cut power to all adapters at once, which reduces standby energy. For devices that have external power bricks, position them so they do not sit directly on carpet or curled up, as they can overheat. If you have more devices than outlets on the strip, use a power strip with more sockets or a USB hub, but avoid daisy-chaining multiple strips together. As you plug each adapter, label it with a small tag or a piece of tape so you know which device it powers. This consolidation makes it easy to power everything down with one press and keeps your desk free of visible plugs.
Minimize Visual Distractions
Remove or hide any notifications from your phone, tablet, or smartwatch by moving them to a drawer or turning off non-essential alerts. On your computer, close any unnecessary browser tabs and disable pop-up notifications for non-work apps. Keep only the apps you need for the current task open on your screens. If you have decorative items on your desk, limit them to one or two small pieces that do not move or catch your eye. Consider using a clean wallpaper on your monitors, such as a solid color or a simple pattern, to reduce visual noise. Also, adjust your screen brightness to match the ambient light in the room, so your eyes do not have to squint. These small changes help you stay in deep work because your brain is not constantly processing irrelevant visual information. After you implement this, take a moment to look at your setup and see if anything still draws your attention away; if it does, find a way to remove it.
Quick Reference
| Situation | Action | Why it helps |
|---|---|---|
| Your neck hurts after an hour of work and you notice you are tilting your head up to see the screen. | Raise your monitor so the top edge is at eye level, then adjust the height and tilt until your line of sight is level with the center of the screen. | When the screen is too low, you tilt your head forward, straining the neck muscles; proper height keeps your spine aligned and reduces fatigue. |
| Cables are hanging off the desk and sometimes get pulled when you roll your chair or stand up. | Use adhesive clips to secure each cable flat along the back or underside of the desk, and bundle them with a velcro tie so no wire dangles loose. | Keeping cables out of the way prevents accidental yanks that can disconnect devices or damage ports, and it also makes your desk look tidier. |
| You want to use both screens but your laptop screen shows the same image as the monitor, instead of being an extended display. | Open your display settings and choose the 'Extend' mode, then drag a window to the edge of the monitor to see it appear on the laptop screen. | Extending the desktop gives you more space to work, while duplicate mode just mirrors the same content, which is less efficient for multitasking. |
Common Issues
- The monitor flickers or goes black after you rearrange the cables.: Turn off the monitor and unplug the display cable from both ends, then firmly reconnect it. If the problem persists, try a different cable or a different port on your computer, and check that the cable is not bent sharply near the connector.
- Your laptop battery drains quickly even when it is plugged into a power strip.: Check that the laptop's power adapter is fully plugged into a working outlet on the strip and that the adapter's LED is lit. If using a USB-C charger, make sure the cable supports power delivery. Also, close unused apps and lower brightness to reduce drain.
- You have too many cables and the power strip is crowded with adapters that get warm.: Remove any adapters for devices you use rarely, and consider a power strip with wider spacing. Do not stack adapters on top of each other; let them breathe by spreading them out on a tray. If any adapter feels hot, unplug it and replace it if it's faulty.
Advanced Tips
- Use a monitor arm that clamps to the desk to free up space and allow you to adjust height and angle easily, but ensure the clamp is rated for your desk thickness.
- Set up a single keyboard and mouse that can switch between your laptop and desktop (if you have one) using a software-based sharing tool, reducing cable clutter.
- Create a morning routine where you turn on your power strip, open your essential apps, and set your screens to night mode in the evening to reduce eye strain.
Final Checklist
- Main monitor is directly in front of you with the top edge at eye level and about an arm's length away.
- Laptop is placed to the side, connected, and set to extend the desktop, not duplicate it.
- All cables are clipped along the desk edges, bundled together, and no cable is lying on the surface or dangling loose.
- Power strip is under the desk with every adapter labeled, and you can reach the switch or plug to turn everything off easily.
FAQ
Do I need to buy a new monitor for this setup?
No, you can use the monitor you already have. The key is to position it correctly and use your laptop as a second screen. If you don't have a laptop, you can work with a single monitor and still follow the same cable management steps. The guide focuses on using what you have, not purchasing new gear.
How do I know if my laptop supports connecting to an external monitor?
Check the ports on your laptop. Most have an HDMI, DisplayPort, or USB-C port that can carry video. Look for a symbol like a monitor icon next to the port. If you are unsure, try connecting a known working monitor and see if your laptop detects it. You can also check your laptop's user manual or the manufacturer's support page.
What if my desk has a cable tray or grommet hole?
Use them to your advantage. Route cables through the grommet hole to hide them from view, or place the power strip inside the cable tray. This makes the desk look even cleaner. If your desk doesn't have these features, adhesive clips and ties work just as well along the edge.