A Practical Guide To A Practical Smart Lighting Setup For A Rented Home
A practical step-by-step guide to a practical guide to a practical smart lighting setup for a rented home, including preparation, instructions, common issues, tips, and next steps.
A Practical Guide To A Practical Smart Lighting Setup For A Rented Home
This guide provides a practical, renter-friendly approach to setting up smart lighting without permanent modifications. It covers planning, hardware selection, setup, troubleshooting, and optimization, ensuring you can enhance your living space while protecting your deposit and simplifying move-out.
Fast Answer
- Start by replacing bulbs in frequently used lamps and fixtures with smart bulbs, using plug-in smart plugs for non-smart devices, and control them with a hub or app from your phone.
- Focus on automation routines for arrival and departure, and use voice assistants if available, but always keep manual controls accessible for guests and during internet outages.
Before You Start
- List every light fixture and lamp in your home, noting which are on switches, dimmers, or have existing smart capabilities, and which bulbs are replaceable.
- Decide on a control strategy: whether you prefer app-only control, voice assistant integration, or a physical remote, and ensure your phone supports the necessary apps.
- Measure the wattage and base type of each bulb you intend to replace to ensure compatibility with smart bulbs, and verify if your rental's electrical system supports smart switches (if you plan to use them).
- Check your Wi-Fi network coverage and plan to place a mesh extender or router near the main living area to ensure all smart devices have a stable connection.
Step-by-Step Instructions
Plan Your Zones and Automation Goals
Start by mapping your home into zones: entryway, living room, kitchen, bedroom, and any home office. For each zone, decide what you want to achieve—whether it's turning on lights automatically when you walk in, setting a timer for the bedroom to ease waking, or dimming the living room for movie nights. Write down the purpose for each zone; this will guide your later choices. For example, the entryway might benefit from a motion sensor, while the bedroom may need a gradual wake-up light. As you plan, consider that a single smart bulb in a lamp can serve multiple zones if moved. After this step, you should have a clear list that prioritizes which rooms matter most to you, which helps you buy only what you need and avoid waste. Checking your list against your daily routines is crucial because it prevents you from setting up unused features and keeps the initial cost and complexity manageable.
Select the Right Smart Lighting Hardware
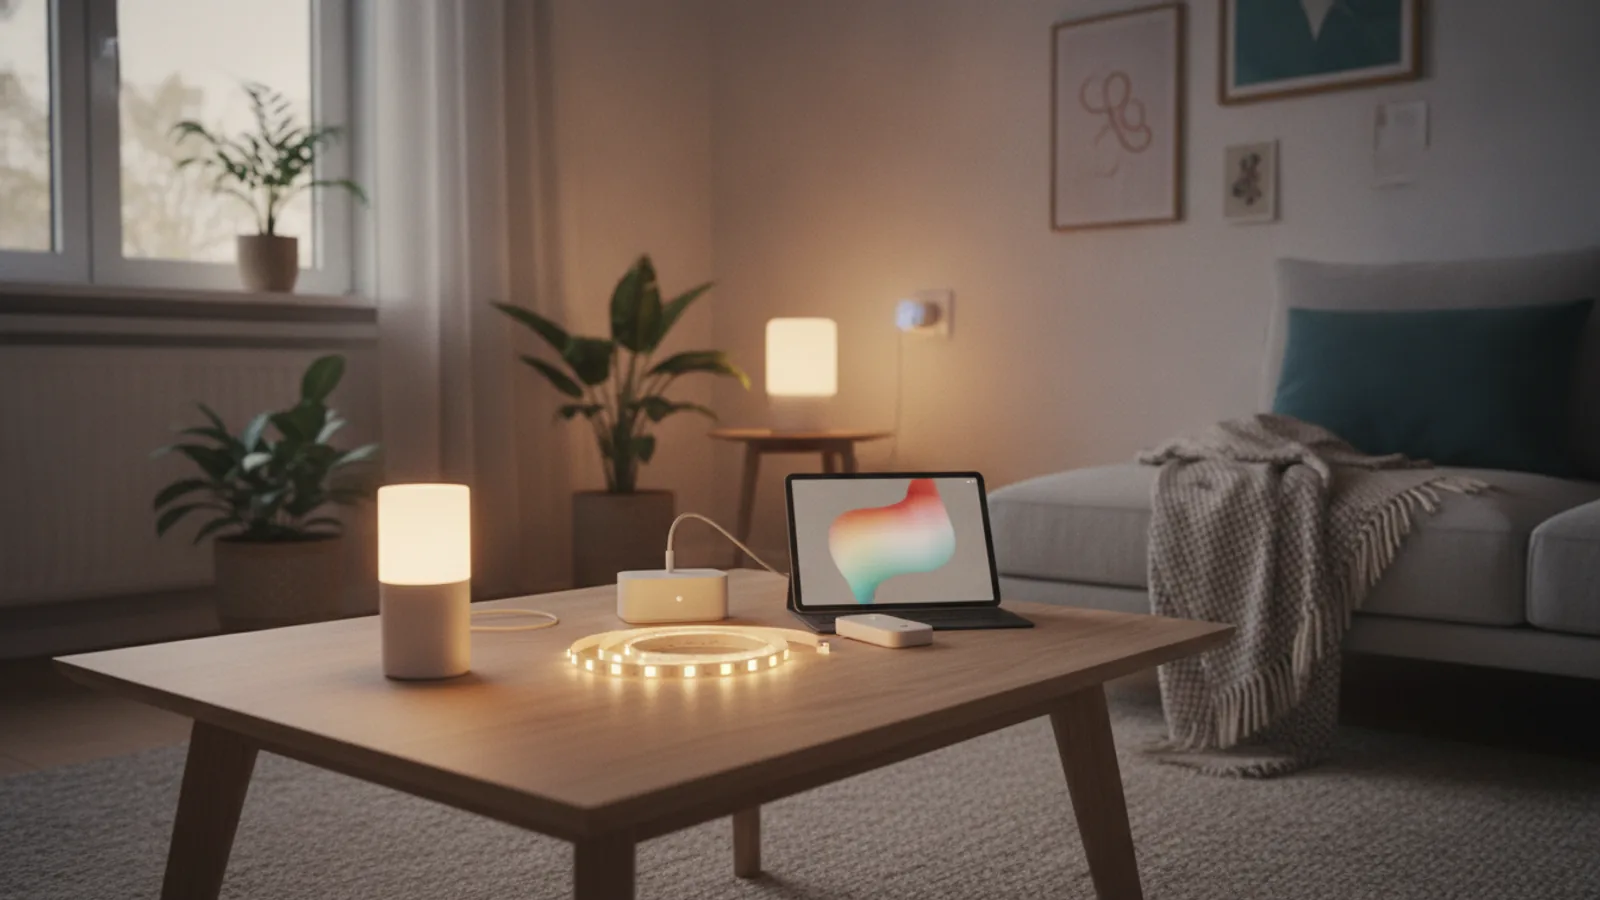
Based on your plan, choose between smart bulbs, smart plugs, or smart switches. For most rentals, smart bulbs are the best starting point because they screw into existing fixtures and can change color or brightness. Smart plugs work well for lamps and string lights that you plug into an outlet. Smart switches replace wall switches but usually require wiring changes, so only consider them if you have permission and feel confident with basic electrical work. When selecting, check the bulb base type (like E26 or E12) and ensure the smart bulb's white temperature or color range matches your needs. Also, consider the communication protocol: Wi-Fi devices are easy to set up but can crowd your network; Zigbee or Z-Wave need a hub but are more reliable. For a rental, avoid systems that require professional installation. Before purchasing, measure your existing bulbs and compare them with the specifications online or on the package. This step saves you from buying the wrong size or type, which can be frustrating and costly. Always keep the original bulbs in a labeled box so you can reinstall them when moving out.
Install Smart Bulbs and Plugs Safely
Turn off the power to the light fixture or unplug the device before installing. For smart bulbs, screw them in firmly but not overly tight, then turn the power back on. If your fixture has a dimmer switch, set it to full brightness before using the smart bulb, as some bulbs don't work well with dimmers and may flicker. For smart plugs, plug the smart plug into the wall outlet, then plug your lamp or appliance into the smart plug. Ensure the smart plug is Wi-Fi or hub compatible and that the device you connect is within its power rating. After installation, use the manufacturer's app to add the device to your system, following the app's instructions. This usually involves putting the device into pairing mode and entering your Wi-Fi password. Once added, test the control from your phone. This step is critical because improper installation can lead to electrical hazards, and a secure connection prevents device dropouts. Always read the manual that comes with the device, and if you feel unsure about any step, consult a professional.
Configure Your Smart Hub or App
Choose one primary app to control all your smart lights, even if they are from different brands. Many apps can integrate various devices if they use the same protocol or if you use a hub like a smart speaker with a built-in hub. Open the app and create an account if needed, then add each device to the app. Organize devices into rooms or zones that match your floor plan, so you can control groups with a single command. Set up schedules for lights to turn on and off at specific times, and use automation rules if available. For example, you can set the living room lights to turn on at sunset. Also, enable geofencing if the app supports it, so lights turn off when you leave or on when you arrive. After configuration, test each scene and routine. This step ensures that your lights not only work individually but can work together to match your daily patterns, which is the real benefit of smart lighting. Checking the schedules regularly helps you adapt to seasonal changes in daylight.
Set Up Voice Control and Manual Overrides
If you have a smart speaker or voice assistant, link your lighting app to it. This usually means enabling a skill or action in the assistant's app and authorizing the connection. Once linked, you can say commands like 'Turn off the living room lights' or 'Dim the kitchen.' However, always ensure that each light or group also has a manual control—either the original wall switch or a smart button placed near the entrance. For example, place a smart button in the hallway that turns off all lights. This is important because if your internet goes down, you still need to control the lights locally. Test both voice and manual controls after setup. Also, explain to family members or guests how to control the lights, and keep a physical remote or the original switches accessible. This step guarantees that your smart lighting doesn't become a source of frustration when technology fails.
Test Everything and Adapt Over Time
After installation and configuration, spend a few days testing all features. Walk through each room and trigger each device using the app, voice, and manual controls. Ensure that schedules work correctly and that scenes behave as expected. Pay attention to any devices that lose connection or respond slowly, and consider moving your router or adding a range extender to improve coverage. Also, check that you are not overloading a smart plug with too many devices. As you use the system, you may discover new routines, like setting the bathroom light to a gentle night light. Keep a note of any adjustments you make. This step is crucial because it helps you catch problems early and refine the setup to fit your life. Remember to update the firmware of your devices regularly, as updates often improve performance. Finally, when moving out, restore all original lights and plugs, and test that everything works as it did before you started.
Quick Reference
| Situation | Action | Why it helps |
|---|---|---|
| You're leaving for vacation and want all lights to turn on and off randomly. | Create a 'Vacation' scene in your app that schedules lights to turn on and off at varying times throughout the day, and enable the randomize option if available. Also, set a rule to turn off all non-essential devices. | This deters potential intruders by making it appear that someone is home, and using random patterns avoids an obvious schedule that could be observed. |
| A smart bulb becomes unresponsive and won't turn off via the app. | First, turn off the wall switch for one minute, then turn it back on. If the bulb still doesn't respond, remove it from the app and re-add it by following the pairing procedure, ensuring it's in the proper pairing mode. | Power-cycling resets the bulb's internal state, and re-pairing establishes a fresh connection, which often resolves connectivity issues. |
| Your landlord requires you to restore the apartment to its original condition before you move out. | Before packing, take photos of each installed device and the original fixtures. Then, reinstall the original bulbs and unplug smart plugs. Use a screwdriver to replace any smart switches only if you had permission and know how to do it safely. | This ensures you leave the home exactly as you found it, avoiding any deposit deductions and maintaining a good relationship with your landlord. |
Common Issues
- Smart lights are not responding to voice commands.: Check that the smart speaker and the lights are on the same Wi-Fi network, and re-link the lighting skill in the voice assistant app. Sometimes re-authorizing the connection solves the issue. Also, ensure the device name is simple and distinct, like 'kitchen lamp' not 'light one'.
- Smart bulb flickers when the wall switch is off.: This is often caused by a small amount of electricity passing through the switch. Replace the standard wall switch with a smart switch that does not have this issue, or install a bypass capacitor if permitted. Alternatively, use a smart plug for the lamp instead of a bulb.
- Smart plug gets warm when in use.: Unplug the smart plug immediately and check if it is overloaded. Smart plugs are rated for a maximum current and wattage; ensure the connected appliance does not exceed this. Also, avoid using them with high-power devices like heaters. If it still gets warm with a low-power device, the plug may be defective and should be replaced.
Advanced Tips
- Create a 'Goodnight' scene that gradually dims all lights over 10 minutes to signal to your brain that it's time to sleep.
- Use smart bulbs with tunable white temperature, adjusting from bright blue-white in the morning to warm yellow in the evening to support your circadian rhythm.
- If you have a smart hub that supports scenes, set up a 'Cinema' mode that turns off all lights except the TV bias lighting, which reduces eye strain in dark rooms.
Final Checklist
- All smart bulbs are securely installed and turn on/off from the app and voice commands.
- Schedules and scenes are set according to your daily routines and tested for at least two days.
- You have a manual override method for every smart light, such as a wall switch or a smart button, and you know how to use it.
- All original bulbs and hardware are stored safely, and you've documented the setup instructions for future use or troubleshooting.
FAQ
Can I install smart lighting in a rental without damaging the property?
Yes, using smart bulbs, smart plugs, and battery-operated devices like smart buttons is renter-friendly because they require no permanent changes. Simply replace the bulbs and plug in the devices, keeping the originals in a box. For smart switches that involve wiring, you must get written permission from your landlord and restore everything before you move out.
What if my Wi-Fi is not strong enough in some rooms?
Many smart lighting devices rely on a stable Wi-Fi connection. If you have dead zones, consider moving your router to a more central location, using a mesh Wi-Fi system, or adding a range extender. Some systems use Zigbee or Z-Wave, which create their own mesh network and can be more reliable.
How can I save energy with smart lighting?
Set your lights to turn off automatically when you leave the room or go to bed, which reduces wasted energy. Use motion sensors in less-used spaces like hallways or bathrooms. Also, choose energy-efficient smart bulbs (like LED) and adjust brightness levels—you don't always need 100% brightness. Use scheduling to align with natural daylight and your daily habits.