Common Mistakes When Setting Up A Practical Smart Lighting Setup For A Rented Home
A practical step-by-step guide to common mistakes when setting up a practical smart lighting setup for a rented home, including preparation, instructions, common issues, tips, and next steps.
Common Mistakes When Setting Up A Practical Smart Lighting Setup For A Rented Home
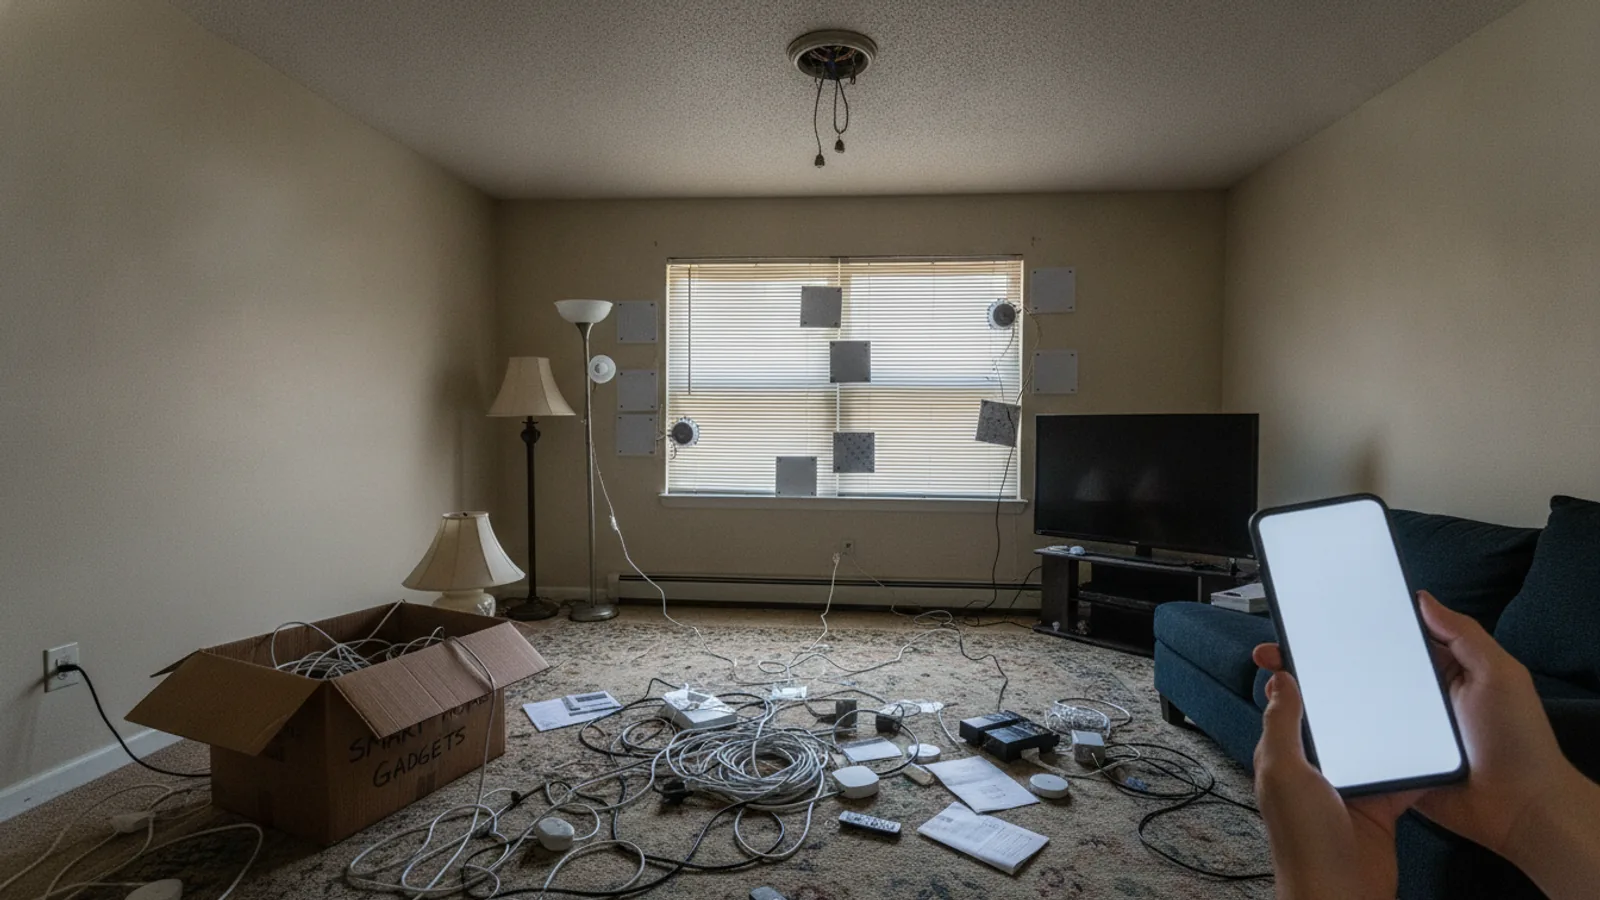
Setting up smart lighting in a rented home can be tricky because you must balance personal comfort with landlord rules and avoid damaging the property. This guide covers common mistakes such as removing existing fixtures without permission, choosing bulbs that don't fit, ignoring Wi-Fi coverage, and forgetting about safety. You'll also learn how to prepare, follow clear steps, troubleshoot issues, and use advanced tips to make your setup smooth and reversible. The focus is on practical actions that respect your lease and keep your deposit safe.
Fast Answer
- Always check your lease and talk to your landlord before changing any light fixtures or wiring, and keep all original parts to restore later.
- Use smart bulbs instead of smart switches because bulbs are easy to install, portable, and don't require permanent changes to your home.
Before You Start
- Read your lease agreement carefully to see if it mentions any restrictions on modifying electrical fixtures or installing smart devices. Look for clauses about alterations and what counts as damage.
- Take clear photos of every light fixture you plan to change, including the bulb type, socket size, and any dimmer switches. These photos will help you choose the right products and prove the original condition later.
- Test your Wi-Fi signal in all the rooms where you want smart lights. Use a smartphone app or a laptop to check the strength, because smart bulbs need reliable internet to work properly.
- List all the light switches and bulbs you want to replace, and note which ones are on the same circuit. This will help you plan groups and avoid overloading a single switch.
Step-by-Step Instructions
Review Your Lease and Get Verbal Permission
Start by reading your lease or rental agreement to find any rules about making changes to the property. Look for words like 'alterations', 'modifications', 'fixtures', or 'electrical'. Many leases require you to get written consent before changing anything that isn't a simple plug-in item. If your lease doesn't mention smart devices, or if you're unsure, talk to your landlord directly. Explain that you want to use smart bulbs that screw into existing sockets and that you will keep all original parts. Ask if that is acceptable and request permission in writing, like an email or a note. This prevents misunderstandings later and shows that you are a responsible tenant. If the landlord says no, respect that decision and consider using smart plugs for lamps instead. After this step, you should have a clear understanding of what you can and cannot do.
Inventory Every Light and Its Bulb Type
Walk through your rented home and make a detailed list of every light fixture you want to control. Note the type of bulb each uses—common types include E26, E27, GU10, or B22—but also check if the fixture is dimmable or has a built-in switch. Use your phone's flashlight or a step ladder to read the tiny labels on the bulb base or inside the fixture. Write down whether the switch is a dimmer, a three-way switch, or a simple on/off, because smart bulbs may not work with dimmers. Also note the wattage and physical size of the bulb to ensure a smart replacement will fit. For example, some smart bulbs are larger than standard ones and might not fit in enclosed fixtures. Count the number of bulbs in each room and decide if you want them to be controlled together or separately. This inventory will guide your purchases and avoid buying the wrong type. When you finish, you'll have a clear map of your setup.
Check Wi-Fi Coverage and Network Reliability
Smart bulbs rely on your home Wi-Fi network to receive commands from your phone or voice assistant. If the signal is weak in some rooms, lights may respond slowly or drop offline. To check, walk around with your smartphone and look at the Wi-Fi icon strength in each area where you plan to put a smart bulb. Better yet, use a free Wi-Fi analyzer app to see the actual signal in decibels. Aim for a signal stronger than -60 dBm; if you see -70 or worse, consider moving your router or adding a range extender. Also, check if your router broadcasts both 2.4 GHz and 5 GHz bands. Many smart bulbs only connect to 2.4 GHz, so make sure that band is enabled and has a different network name (SSID). If your router uses mesh, peace. If you have a roommate or family, plan for times when everyone is streaming, so that your bulbs still respond instantly. After this, you'll know where the weak spots are and can decide if you need extra equipment or if you can stick to certain rooms.
Purchase Only the Bulbs You Need, with a Spare
Based on your inventory and Wi-Fi test, buy the exact type and number of smart bulbs you need. It is wise to purchase one extra bulb as a spare, in case one is defective or you make a mistake during setup. When shopping, look for bulbs that have the same base as your fixtures, and check the official specs to confirm they work with your Wi-Fi network and any hub you plan to use. Avoid bulbs that require a proprietary hub unless you already have that hub, because adding an extra box complicates the setup. Also consider the color temperature and brightness—some bulbs only offer a fixed warm white, while others offer full color. Decide what you want before buying. If you have dimmer switches, look specifically for smart bulbs labeled 'dimmable' or 'compatible with dimmers', though note that even then, you may need to remove the dimmer for everything to work. After purchase, store the spare bulb safely. Now you have all the hardware you need, without buying unnecessary extras.
Install and Pair Each Bulb One at a Time
Start with one bulb to avoid confusion. Turn off the light switch and remove the old bulb carefully. Screw in your new smart bulb, and turn the switch back on. Wait for the bulb to blink or show a pattern, which usually indicates it is in pairing mode. If not, follow the manufacturer's instructions to put it in pairing mode, which often involves turning the switch off and on a few times. Open the official app on your phone (from the manufacturer, not a third-party) and follow the steps to add a new device. Make sure your phone is connected to the 2.4 GHz network. Enter your Wi-Fi password when prompted. Once the app finds the bulb, give it a name like 'Living Room Lamp'. Then test that you can turn it on and off from the app. If it works, pair the next bulb in the same room. This one-by-one process ensures you know which bulb is which and reduces pairing errors. After all are paired, group them in the app for convenient control.
Set Up Schedules and Routines for Daily Ease
With all bulbs installed and paired, go into the app and explore the automation features. Create a schedule that turns on your bedside lamp at 7:00 am with a gentle brightness, and turns it off at 10:00 pm. You can also set a routine that triggers all lights in the living room to dim when you say a voice command like 'Movie time', if you have a voice assistant. Be careful not to create conflicting schedules, like having a timer turn off a light that is part of a vacation mode. Also consider using 'away mode' that randomly turns lights on and off to simulate presence, but note that this may not be available in all apps. If your smart bulbs support multiple profiles, ask others in your home to create their own. After setting up these automations, test them by manually triggering the routine and confirming it works as expected. This step turns your individual smart bulbs into a coherent system that fits your lifestyle.
Quick Reference
| Situation | Action | Why it helps |
|---|---|---|
| Your lease says 'no alterations' but you want smart lights. | Talk to your landlord first, explain that you will only use screw-in bulbs and that everything remains reversible, and ask for written permission. If denied, use smart plugs for lamps instead. | This respects the lease and your landlord's property, avoids any dispute, and keeps your deposit safe. Smart plugs are a non-permanent alternative. |
| A smart bulb does not fit in the light fixture because it's too long or wide. | Measure the fixture's globe or shade and the bulb's base, then compare dimensions. If it doesn't fit, return the bulb and buy a smaller-sized smart bulb, or use a smart plug for a lamp. | Forcing a bulb can damage the fixture or cause it to overheat. Checking dimensions prevents physical damage and ensures the bulb works safely. |
| Your smart light disconnects from Wi-Fi frequently, especially in a back room. | Move your router closer to that room or add a Wi-Fi range extender. Also ensure the bulb is connected to the 2.4 GHz band and not the 5 GHz band, and check for interference from thick walls or appliances. | Weak signals cause drops, so improving the signal or using the correct band stabilizes the connection and makes lights more reliable. |
Common Issues
- Smart bulb flickers or turns off when the physical switch is turned off, even when you want it on.: Smart bulbs need constant power to stay connected, so they must be controlled only by the app or voice. Physically turning off the switch kills power. Use only the app to turn off, or replace the switch with a smart switch if allowed, or use a smart plug for lamps.
- The app cannot find the smart bulb during setup.: Check that your phone is on the 2.4 GHz network, not the 5 GHz. Reset the bulb by turning it off and on several times. Move your phone closer. Allow location permissions. Restart the app and router, then try again.
- You accidentally added a bulb to the wrong room in the app.: Open the app, select the bulb, and edit its name, room, or icon. You can also delete the bulb and re-add it. This keeps your controls organized so you don't turn on the wrong light.
Advanced Tips
- Use smart bulbs with a color scene that gradually changes to mimic natural daylight, which can help regulate your circadian rhythm without any permanent installation.
- Set up voice control routines that combine multiple lights and actions, like 'Goodnight' which turns off all living room lights, locks your door (if compatible), and turns on your bedroom lamp at 10%.
- If your router has a guest network, consider placing smart bulbs on that guest network to isolate them from your main devices, which can improve security without affecting your phone's network.
Final Checklist
- Review your lease and get written permission before any change, and keep a copy.
- Inventory all fixtures and buy the right bulbs, plus one spare.
- Verify Wi-Fi coverage and use the 2.4 GHz band for smart bulbs.
- Test every bulb with the app and set up schedules or routines.
FAQ
Can I use smart bulbs with a dimmer switch?
Usually, no. Many smart bulbs are not compatible with traditional dimmer switches because the dimmer reduces or distorts the power, causing flickering. It's best to replace the dimmer with a standard on/off switch. If you cannot change the switch permanently, you can remove the dimmer and install a regular switch or simply not use the dimmer and control brightness through the app. Always check the bulb's specifications for compatibility.
What should I do with the bulbs when I move out?
You should remove your smart bulbs and replace them with the original bulbs you saved. That way, you can take your smart bulbs to your next home. Also, reset each bulb to factory settings before removal so the next tenant or owner doesn't have access to your account. Finally, do a final check of all fixtures to ensure everything is as it was when you moved in.
Do smart lights work without internet?
Most smart bulbs rely on a Wi-Fi connection and a cloud service to receive commands from your phone. Without internet, you may not be able to control them via the app or voice. However, some bulbs have local control options or a physical switch that still works. If you lose internet, the bulbs still function as regular lights when you flip the wall switch, but you lose remote access. Check your bulb's manual for offline behavior.